There are SO MANY ways to create knitting looms. Just take a look on Pinterest! For my looms I used four posts, however, you can add as many posts as you’d like. Click on photos for more in depth tutorials.
Cardboard tube loom:
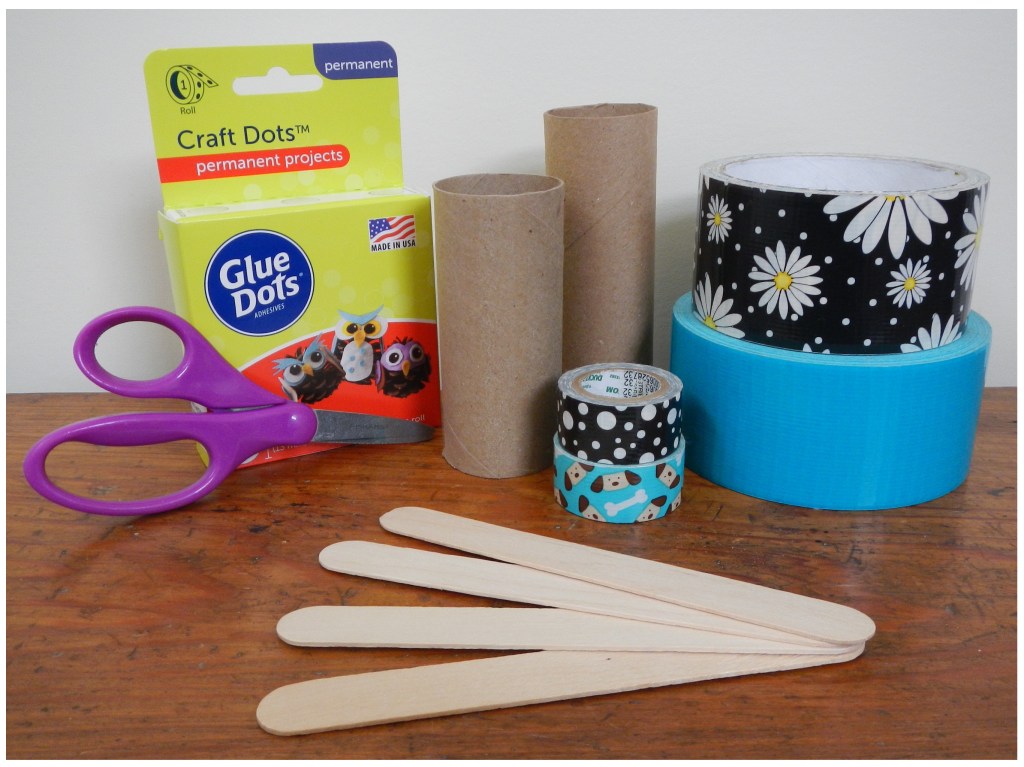
Cardboard tube (toilet paper roll or a paper towel roll cut down), craft sticks, duct tape, scissors, & glue dots
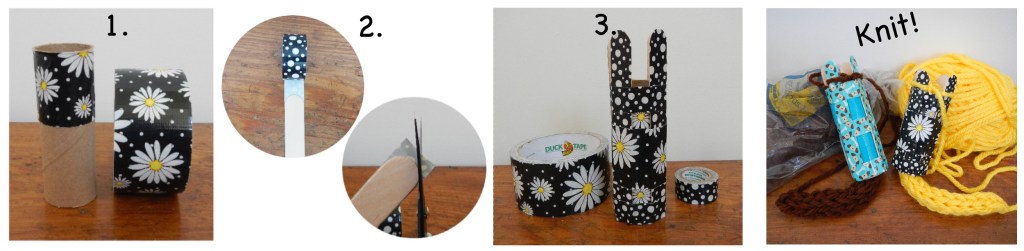
1. Begin by wrapping the cardboard tube with strips of wide duct tape.
2. Next cover each craft stick with a strip of narrow duct tape and trim the excess off the top and bottom.
3. Finally, fix the sticks onto the cardboard tube by taping them on at the top, middle, and bottom of the tube with strips of duct tape (helpful hint: use glue dots to temporarily hold the sticks in place. A rubber band or hot glue would work well too).
These looms were perfect for working with large scale classroom craft yarn (shown in photo).
Spool knitter:
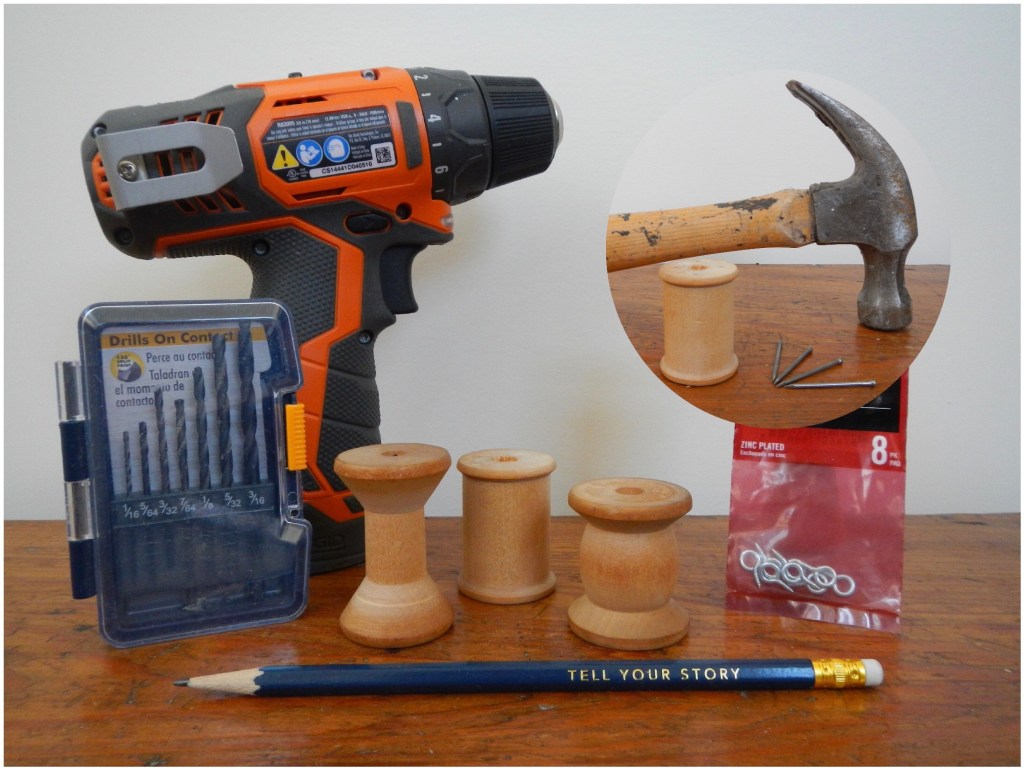
Wooden spool, nails or screw eyes, drill, hammer, & pencil.
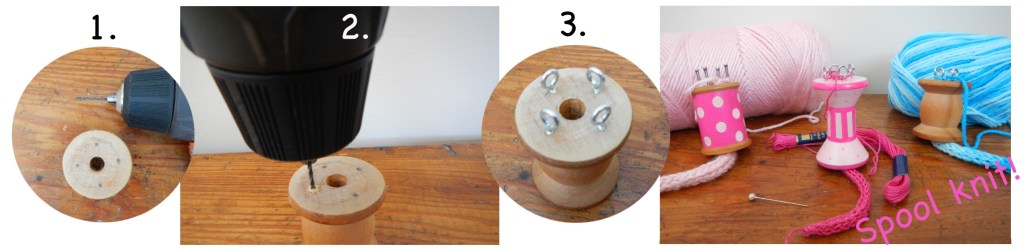
1. Mark four spots on the top of the spools with a pencil.
2.Using the small 1/16 drill bit, predrill holes into the pencil marks.
3. Hand turn the screws or hammer the nails into the predrilled holes.
The spool knitter with nails was the easiest to use and worked the best for yarn. These knitters are much smaller and harder to use for beginners but they are great for working with threads and finer gauge yarns.
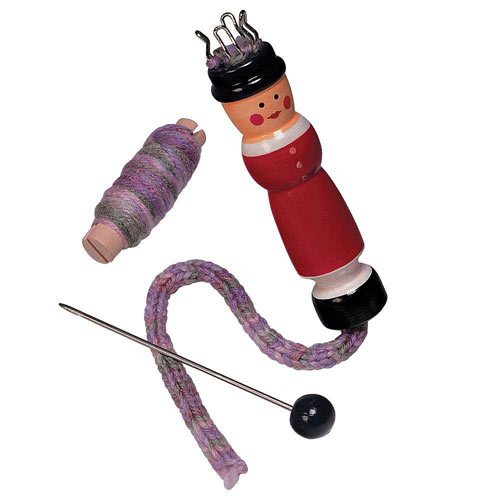
Knitting doll:
In my opinion Knitting Nancies with staples are the easiest to use and they work with a wide variety of yarn. To purchase a wooden knitting doll search online for “spool knitter”, “knitting doll”, “French knitter”, or “knitting nancy”. Click on the image below to be linked to one of my favorite knitters.
Plastic versions with various interchangeable tops are readily available in retail craft stores and online.